Affiliate Disclosure: This post may include affiliate links. If you click and make a purchase, I may earn a small commission at no extra cost to you.
My Xbox One had reached the point where it just felt old.
Games were taking forever to load, the dashboard was lagging randomly, and installing modern titles had become a constant battle for storage space. Call of Duty or Forza Horizon 6 alone was eating up a ridiculous amount of the drive, and even simple things like opening Game Pass felt slower than they should have.
At first, I almost bought a newer console. But after looking at how many Xbox One games my family still actively plays — Fortnite, Halo, Minecraft, LEGO games, older Game Pass titles — I decided to try something else instead: do an Xbox One SSD upgrade.
What I thought would be a quick weekend upgrade turned into several hours of troubleshooting, multiple Xbox startup errors, and one very important discovery involving the Insider Program. But after finally getting everything working, I can honestly say this is one of the best upgrades you can still make to an aging Xbox One in 2026.
If you’re planning to do the same thing, this guide covers the entire process, including the mistakes, failed updates, and fixes that actually mattered.

Is an Xbox One SSD Upgrade Still Worth It?
Yes, surprisingly, it absolutely is.
An SSD will not magically turn an Xbox One into a Series X. You are still limited by the console’s older CPU and SATA interface, so don’t expect higher frame rates or better graphics.
But what does improve is the system’s overall responsiveness.
After upgrading to an SSD, I immediately noticed:
- Faster boot times
- Shorter loading screens
- Less dashboard lag
- Faster game installs and updates
- Better texture streaming in some games
- Faster switching between menus and apps
Honestly, the dashboard improvement was more noticeable than the raw loading numbers.
The original mechanical hard drives inside many Xbox One consoles are now over a decade old. Even before they fully fail, they often become sluggish, noisy, and inconsistent. Replacing that aging HDD with an SSD makes the entire system feel cleaner and snappier.
What You Need Before Starting an Xbox One SSD Upgrade
The actual hardware side of this upgrade is fairly simple. Most of the difficulty comes from the software recovery process afterward.
Here’s what I used:
- A 2.5-inch SATA SSD
- Torx T9 screwdriver
- Plastic pry tool
- USB flash drive (at least 8GB)
- SATA-to-USB adapter for PC access
- Windows PC for preparing the SSD and USB drive

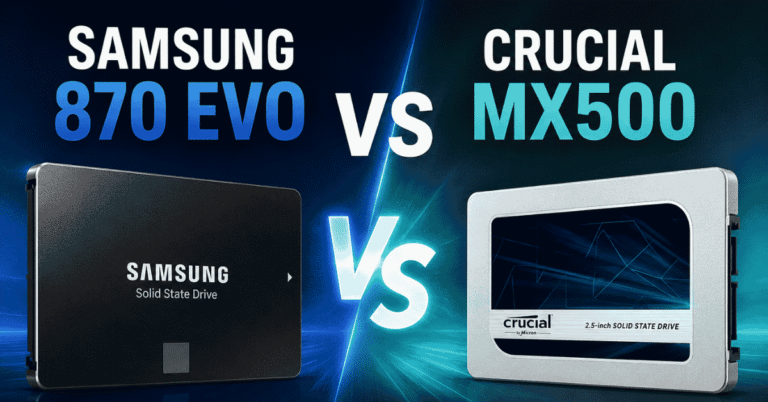
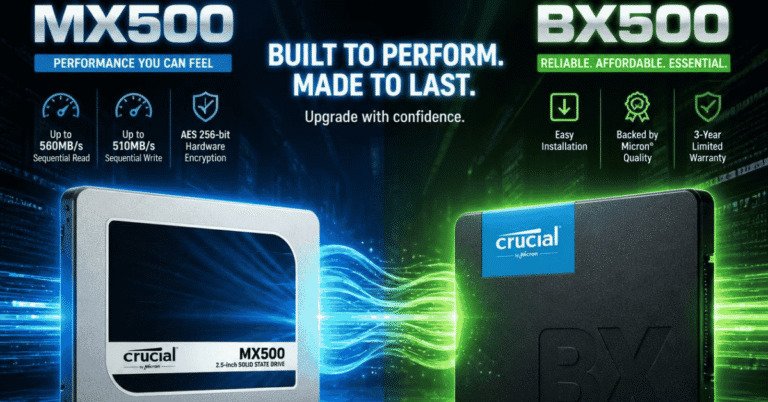
For the SSD itself, I used a 2TB SATA SSD similar to the Crucial BX500. You do not need a high-end gaming SSD for Xbox One upgrades. Reliability matters more than peak speed here because the Xbox One’s SATA interface becomes the bottleneck anyway.
A 1TB drive is probably the sweet spot for most people, but 2TB makes a lot of sense if you use Game Pass heavily.
One important thing that many tutorials skip: Your USB drive must be formatted to NTFS for the Offline System Update process to work properly.
FAT32 and exFAT can cause update detection issues.
My Step-by-Step Experience for Upgrading Xbox One SSD
Before Replacing the SSD, Check This First
This single issue caused almost all of my problems.
If your Xbox is enrolled in the Xbox Insider Program, leave the program before replacing the drive.
I cannot stress this enough.
My console was running an Insider Preview build that was newer than the public OSU1 recovery files provided by Microsoft. Because of that mismatch, the console repeatedly rejected the offline update and threw E101 errors.
At first, I thought the SSD was defective.
Then I thought I had copied the update files incorrectly.
Then I thought I had partitioned the drive wrong.
The real issue was simply that the Xbox expected a newer Insider build than the recovery file could provide.
If you’re unsure whether your console is enrolled:
- Boot your Xbox using the original HDD
- Open the Xbox Insider Hub app
- Check whether the console is enrolled
- Remove it from all preview builds
- Let the Xbox install the latest retail/public update
This one step can save you hours.
Opening the Xbox Is Harder Than Installing the SSD
The SSD swap itself is easy.
Opening the Xbox is the annoying part.
On the Xbox One X and One S, you start by removing the rear screws with a Torx T9 screwdriver.

After that, the outer shell needs to be pushed slightly forward before it is lifted.

Most of the clips are located on the right side.
This is where many people get stuck.
I found that gently lifting from the left side while pushing the shell forward worked best. Trying to force it straight upward usually just fights against the clips.

Once inside, you’ll need to remove 12 screws and disconnect several ribbon cables.

And this is the point where you need to slow down.
The ribbon cables inside the Xbox are extremely delicate.
Several connectors feel surprisingly flimsy, especially around the front panel area. Use a plastic pry tool if possible, and avoid pulling directly on the cables themselves.

The actual hard drive sits in a fairly accessible bracket once the metal shielding is removed.
After disconnecting the SATA and power cables, the original HDD lifts out easily.

From there, installing the SSD is just a matter of reversing the process.
One thing I learned during testing:
Make sure the SATA and power connectors are fully seated before reassembly.
A loose connection can make the Xbox appear to have a dead SSD.
🚩For a detailed instruction on how to install an SSD in the Xbox One, you can check this video below:
Installing the Xbox OS on the New SSD
This is where most upgrade guides become confusing.
After physically installing the SSD, the Xbox will not simply boot normally. The drive is blank, so you need to reinstall the Xbox operating system using Microsoft’s Offline System Update process.
The recovery package is called OSU1.

The file itself is around 6.6GB, so your USB drive needs enough free space (at least 8 GB). After downloading the ZIP file from Microsoft, extract it and locate the $SystemUpdate folder.
This part matters:
Copy the $SystemUpdate folder directly to the root of the NTFS-formatted USB drive.
Do not place it inside another folder.
Do not copy the ZIP itself.
Incorrect file placement is one of the most common reasons for E106 and E101 errors.
Some older tutorials also recommend manually partitioning the SSD using XboxOneHDD scripts. I tested both methods.
In many cases today, the Xbox can actually partition the SSD automatically during the OSU installation process. However, if the console struggles to detect the SSD properly, manual partitioning tools can still help.
Can You Clone an Xbox One HDD to an SSD?
Yes, technically, you can clone the original Xbox One hard drive to an SSD using disk cloning software.
But after testing both approaches, I honestly found the Offline System Update method more reliable — especially on older consoles.
Cloning sounds easier because it preserves your games and settings, but it can also copy over hidden problems from the aging hard drive, including corrupted system files or unstable partitions.
In my case, a clean OSU1 installation ended up being far less frustrating than troubleshooting cloned partitions later.
For most users in 2026, I’d recommend:
- Fresh install SSD
- Offline System Update
- Re-download games afterward
rather than cloning the original drive.
The First Boot Usually Looks Scary
After reinstalling the SSD and powering on the Xbox for the first time, I was greeted by an error screen almost immediately.
That turned out to be completely normal.
The console simply didn’t recognize the blank SSD yet.
To enter recovery mode:
- Hold Sync + Eject
- Tap the Power button
- Continue holding Sync + Eject until the troubleshooter appears
From there, choose “Offline System Update”.
The update process itself usually takes around 15–20 minutes.
At least, when everything works.
Mine didn’t.
Some Errors I Encountered When Upgrading the Xbox One SSD
Error E106: The First Problem
The first error I encountered was E106.
This is essentially a startup failure, indicating that the Xbox cannot boot properly from the drive.
At first, it was worrying.
But E106 does not automatically mean your SSD is defective.
In my case, I reconnected the SSD to my PC and double-checked the location of the update file. I also verified that the $SystemUpdate folder was not accidentally nested inside another directory.
After correcting the file placement and trying again, the console moved past E106.
Then it hit E101 instead.

Error E101: The Real Problem
E101 is where things became confusing.
This error usually indicates that the Xbox rejected the update package because of an OS mismatch.
That’s when I discovered the issue with the Insider Program.
My Xbox was running a newer Insider Preview build than the supported public OSU1 recovery package. The console basically refused to downgrade itself.
The fix ended up being:
- Reinstall the original HDD
- Boot the console normally
- Leave the Insider Program
- Install the latest public retail update
- Reinstall the SSD
- Retry the offline update
Once I did that, the E101 issue disappeared completely.
Honestly, if your Xbox SSD upgrade keeps failing for no obvious reason, this is probably the first thing I would check.
Then Came Error E200
At this point, I thought everything was finally working.
The update reached near the end of Step 3, the progress bar was almost complete, and then suddenly: E200.
This error usually appears when the update partially installs, but the console fails during the final boot process.
By this stage, I was pretty frustrated because the SSD itself was clearly functioning.
The unexpected solution turned out to be surprisingly simple.
From the troubleshooter menu, I selected: Reset this Xbox → Keep games and apps
After several minutes, the console rebooted cleanly into the setup screen.
That finally solved it.
One More Thing Nobody Mentions About Large SSDs
After installing the 2TB SSD, I noticed that not all of the storage space was actually usable.
Some capacity remained unallocated.
Using a partition tool like MiniTool Partition Wizard, I extended the User Content partition to reclaim the remaining space.
This step is especially useful for larger SSDs because Xbox partition layouts don’t always use the full drive capacity.
There’s also another long-term issue that some people discover weeks later:
Future system updates can fail if certain Xbox system partitions are too small.
This is why some experienced upgraders slightly resize or expand the System Update partitions after installation. It’s not always required, but it can help avoid future update errors.
So… Is It Worth Doing an Xbox One SSD Upgrade?
After everything was finally complete, my Xbox One genuinely felt refreshed.
Not new-generation fast, obviously.
But no longer frustrating.
Games launched faster, installs felt quicker, and the dashboard stopped feeling like it was constantly fighting the hard drive. For a console that many people still use for Game Pass, media apps, or family gaming, an SSD upgrade absolutely extends its usable life.
And honestly, the biggest lesson from this entire process is this:
The hardest part of upgrading an Xbox One SSD is not the hardware — it’s the recovery and update process afterward.
If you prepare for that ahead of time, especially by checking for Insider builds and correctly preparing the OSU1 files, the upgrade becomes much smoother than many horror stories online make it sound.
In 2026, replacing the original Xbox One hard drive with an SSD is still one of the biggest quality-of-life upgrades you can make to the console.