Affiliate Disclosure: This post may include affiliate links. If you click and make a purchase, I may earn a small commission at no extra cost to you.
NAS devices are expensive and not everybody can buy them. Nor does everybody really need them. But, if you can turn any of your drive into a NAS. There are many applications of NAS but, for most people, it is most helpful for accessing their files remotely. Sharing data between your personal device and small businesses becomes easier.
It is like your own mini server which is secure, customizable, and multi-purpose. You can upload files on one device and look at them from another one and vice-versa. There are two ways to do that. First, if your router has a USB port, then the process is simple because the router will have most of the settings readily available to you. However, in case no USB port is there, you can still create a NAS. We are going to cover both the methods. So, let’s get started.
Step 1: Format the Hard Drive
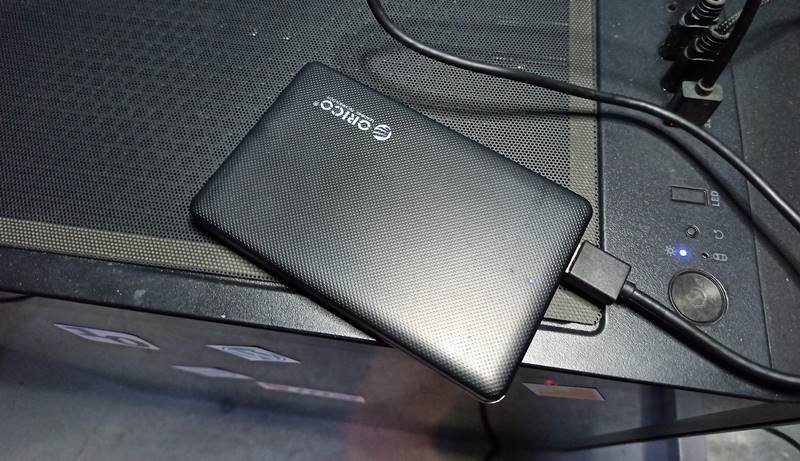
- Plug the hard drive into your PC via the USB adapter or enclosure. You can also use a flash drive or an SSD if you want.
- Open Disk Management (Windows) or Disk Utility (Mac).
- Format the drive to exFAT or NTFS (Windows) / APFS (Mac) for best compatibility.
- Give the drive a simple name (e.g., “MyNASDrive”). I am naming it “Test NAS drive”.

Step 2: Connect the Hard Drive to the Router
- Plug the USB drive into your router’s USB port (if the port is available)

- Log in to your router’s web interface (usually 192.168.1.1 or 192.168.0.1).
- Look for a “USB Storage” or “NAS” section in the router settings. Your storage device must appear in this menu.

- Now, once the USB drive or your hard drive is connected, we’ll have to set up FTP for this drive. You can find the settings in the router menu.
- In this section, you’ll set the username and password which will be required when you access this network storage. Once everything is done, you’ll get a link to the FTP address along with the name of the shared folder.

Step 3: Access the NAS on Your Devices
To access these files, your systems must be connected to that Wi-Fi router. Then. you need four things:
- FTP address
- Port
- Username
- Password
Once you have got all these things, you are ready to access your files through your personal NAS.
Windows Users:
- Open File Explorer → Click Network
- Find the NAS drive under Network Locations
- Right-click → Map Network Drive for easy access

Alternatively, you can manually enter the FTP address in the File Explorer navigation bar.

Once you enter the address and hit Enter, you’ll be asked for the username and password that you had set before during the setup process. Once you enter that address, you’ll be able to access all your files through this FTP server.

For Mac Users:
- Open Finder → Click Go → Connect to Server
- Type
smb://router-ip-address(e.g.,smb://192.168.1.1) - Enter credentials (if required) and connect
Mobile Users:
- Use ES File Explorer (Android) or Files App (iOS)
- Add a new network location (
smb://router-ip-address) and then enter credentials.
I hope this helps!